Google Tag Manager is a very convenient tool used by marketers that enable them to edit, add or remove measuring and marketing tags without the intervention of a webmaster(s). This, therefore, hastens the process from the marketing outlook and frees the webmasters to work on other projects.
With the Google Tag Manager, one is able to easily and quickly update:
1. Code snippets and tags on your mobile app or website so as to analyze traffic and market optimization. Instead of editing the site code, you can also add and update Google Analytics, AdWords, and Floodlight from the Google Tag Manager user interface. This, therefore, reduces the errors and cuts the costs of hiring a web developer. GTM also gives you the chance to deploy new content or features into your site
2. Flag and configuration values of mobile applications that you have created. Instead of deploying and rebuilding new binaries for the mobile apps, you can use GTM interface to alter the configuration values.
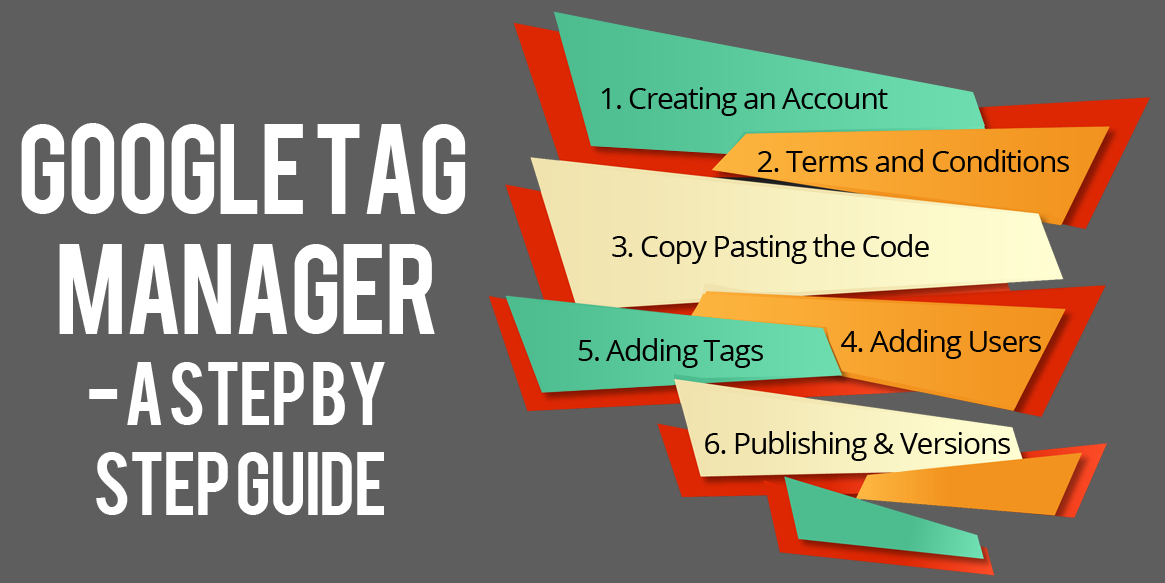
Below are the steps that one should follow when using the Google Tag Manager
Step 1: Creating an Account Typically, one account is needed for one organization. To create an account, you can visit www.google.com/tagmanager. Once in this web page, you will be able to sign up for the service or product provided by your firm. If there is a need for the creation of additional accounts, just sign into your original or existing account and click on Account List ( this option is on the drop-down located on the top left corner of the web page) the click the New Account button.
When creating the account, you will be required to fill the account name, time zone, domains, and the container name that will be used It is preferred that the account name given to be the name of the organization whereas the container name should invariably be the website that uses this container.
Step 2: Terms and Conditions After filling all the details correctly, you are required to accept Google Terms and Conditions so as to complete the account opening process.
Step 3: Copy pasting the code Upon successfully opening the account, copy and paste the code on the container to each and every page of your website. Make sure to paste it directly after the opening.
Google with then gives you a code snippet to be added on the website’s footer or header. If you happen to be using CMS, you can add it to any file loaded in your website. In the majority of WordPress premium themes, there is a place for adding codes without necessarily editing the theme files. However, if you have to edit the code, you can opt to utilize footer.php and place the code in the required section.
Step 4: Adding Users Prior to adding tags, you can add a user by clicking on new, then click on the user. By adding users, you enable your clients to own their own ad words, Facebook, data analytics, etc. This, therefore, ensures that everything you do while consulting you are using their accounts meaning that they are the ones who give you access to their accounts and not vice versa.
Step 5: Adding Tags Once you have created the container, you can now commence creating the tags for your site Google provides you with a few templates for you to choose from However, it also allows the custom tags to be utilized. Below are some tags that are supported by the tool
1. AdWord Remarketing
2. AdWord Conversion Tracking
3. Double Click Floodlight Counter
4. Double Click Floodlight Sales
5. Custom HTML Tag
6. Custom Image Tag
7. Universal Analytics 8. Google Analytics
Once you have added the code and users in your website, you are now ready to add tags. Click new-> tag from inside the container. After this, you will need to go to the tag page. In the tag page, you can choose between the different tags listed above. As mentioned earlier, Google has created default templates for the tags so as to reduce the probability of errors.
When you decide on the tag you wish to add, you will be required to fill a few details for each tag e.g Conversion Label or Conversion ID for AdWords, Web property ID or Conversion Tracking, Track Type and Cookie path for Google Analytics. You can also click on Add Rule so as to Fire Tag as explained in the example below.
If for example you choose to add a Facebook interaction tracking, choose HTML as your tag and copy paste the required code from Facebook. The right-hand side contains a box for FIRING RULES. As mentioned earlier, they let you set the location of the tags.
The added rule will then be used to define the circumstances under which the selected tag will be fired. In the case where tags e.g Google Analytics is expected to appear in all the web pages, a rule can be made to URLs that are similar to a Regular Expression “..”. Another normal usage will be adding tags to the conversation page so that you may need to add rules for a URL that are equivalent to the page address. For more information on the macros and rules visit https://supportgoogle.com/tagrnanager/answer/6106961?h1=en&rd=1.
Step 6: Publishing and Versions Tags do not become published automatically when they are added to a container. These tags must be published manually. Publishing is typically linked to a version of a container that can be created at any time You can check on the available versions by clicking on the numbers found on Versions left the menu. This will then move you to a page that summarizes all the included tags in this version together with the applied rules. This is a perfect way of organizing the tabs for troubleshooting purposes.
Users and Permissions
Users are normally added to accounts and by default, they have no access to all the containers in the account. Typically, each container has four types of user access. These are
1. No access: The user doesn’t see the listed container in the account.
2. View only Users may see the listed container and may also browse the macros, rules and tags in the container but can’t edit them.
3. View and Edit: The user is allowed to add and edit rules, macros, and tags in the container.
4. View Delete, Publish and Edit: The users may add, delete, and edit rules, macros, and tags in the container. The users might as well publish alterations to the live website. For more on managing users visit http://online-behavior.com/analytics/google-tag-manager